Deploy ML Models with Streamlit

Streamlit is an open-source Python library that can make and deploy beautiful-looking web apps in a few minutes. It has been quite a handy tool for deploying ML models without creating API endpoints in Flask or FastAPI.
Today, I will talk about some streamlit functions I have used that could help you too! For Demo, this is what a streamlit app looks like:
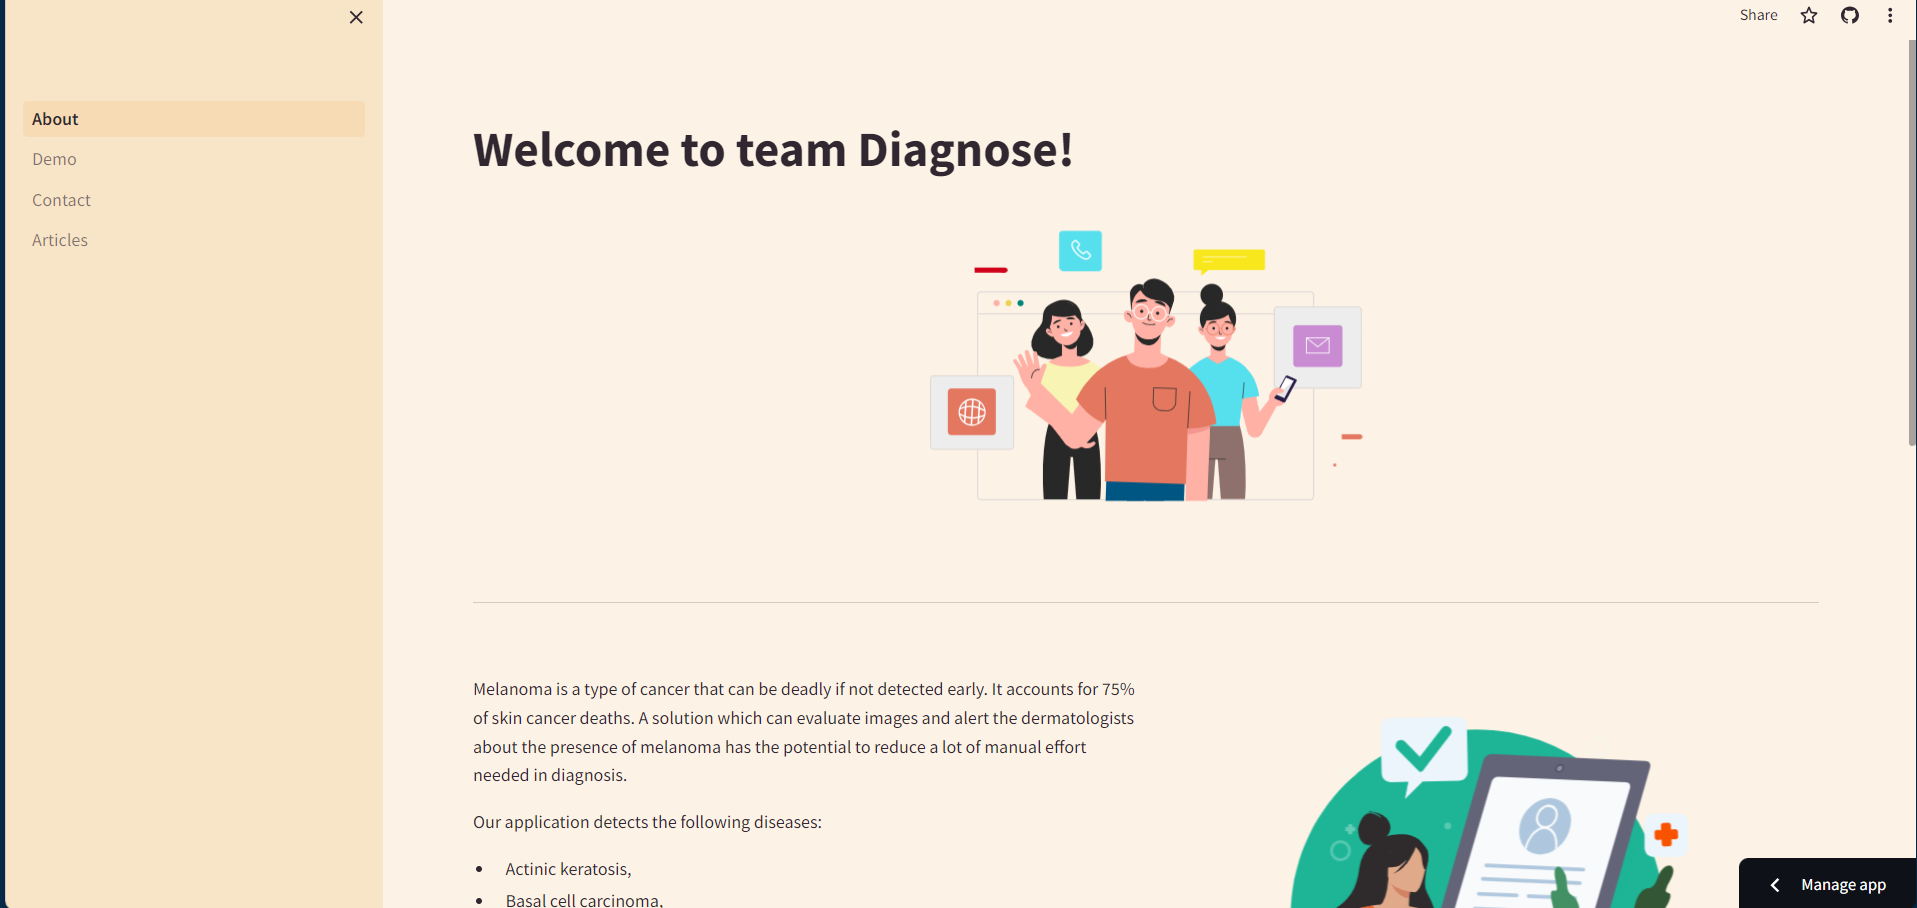
Source: Siddhesh-Agarwal/Skin-Cancer-Detection: A web app to detect Skin cancer using pictures of moles and other marks on skin (github.com)
Creating
To begin, create a app.py file or use a template. In your app.py file simply type:
import streamlit as st

st.title("Test")
Magic
Anything written in the Python script between triple quotes (""")will be rendered as markdown text!
"""
# Heading 1
## Heading 2
### Heading 3

1. Ordered list 1
2. Ordered list 2
3. Ordered list 3
"""
Components
Write
Described as the "Swiss Army knife of Streamlit commands", `st.write()` is one of the most versatile functions to display any data type.
st.write("_Hello_ *World*")
st.write(df)
Data Elements
JSON
st.json(dict_or_json_obj)DataFrame
st.dataframe(df)Table
st.table(df)Metrics
 st.metric("Temperature", "39°C", "1°C")
 st.metric("Wind", "12 kmph", "-8%")
Input Widgets
Text Input
 name = st.text_input("Enter you name")
 password = st.text_input("Enter the password", type="password")
 st.write(f"Your name is {name} and your password is {password}")
Number Input
 age = st.number_input("Enter your age", min_value=18, max_value=120)
 st.write("Your Age is:", age)
Slider
 age = st.slider("Enter your age", min_value=18, max_value=120)
 st.write("Your Age is:", age)
Date Input
 from datetime import date

 bday = st.date_input("When's your birthday", date(2019, 7, 6))
 st.write('Your birthday is:', bday)
Button
 if st.button("Click me"):
     st.write("Well Done")
Radio
 food_items = ["Pizza 🍕", "Burger 🍔", "Spaghetti 🍝"]
 food = st.radio("What do you want to eat?", food_items)
 if food:
     st.write(f"You are eating {food}!")
Select Box
 food_items = ["Pizza 🍕", "Burger 🍔", "Spaghetti 🍝"]
 food = st.selectbox("What do you want to eat?", food_items)
 if food:
     st.write(f"You are eating {food}!")
Multiselect
 food_items = ["Pizza 🍕", "Burger 🍔", "Spaghetti 🍝"]
 food = st.multiselect("What do you want to eat?", food_items)
 if food:
     st.markdown(f"You are eating {', '.join(food)}!")
Toggle
 toggle = st.toggle("Display Dataframe")
 if toggle:
     st.write(df)
File Uploader
file = st.file_uploader("Upload a file")
Layouts
Columns
 cols = st.columns(2)
 with cols[0]:
     st.write("This is Column 1")
 with cols[1]:
     st.write("This is Column 2")
Container
 c = st.container()
 st.write("Line 3")
 c.write("Line 1")
 c.write("Line 2")
Expander
 with st.expander("Click to Open"):
     st.write("Here is some more content")
Sidebar
 with st.sidebar:
     st.write("This will be displayed in the sidebar")
Tabs
 tabs = st.tabs(["Milk", "Cookies"])
 with tabs[0]:
     st.write("You chose Milk 🥛")
 with tabs[1]:
     st.write("You chose Cookies 🍪")
Status Elements
Spinner
 with st.spinner("Loading..."):
     perform_task()
Toast
st.toast("Process completed successfully!")Balloons / Snow
 st.balloons()
 st.snow()
status boxes
 st.success("Success")
 st.info("Information")
 st.warning("Warning")
 st.error("Error")
Control Flow
Forms
 with st.form(key='some_form'):
     name = st.text_input("Name")
     age = st.number_input("Age")
     if st.form_submit_button("Submit"):
         st.balloons()
Rerun
st.rerun()Stop Execution
st.stop()
Configuration
Streamlit allows the configuration of colour along with some other things. To customize, create a .streamlit/config.toml file. You can do something like this to change the classic black-and-white style to something more colourful:
[theme]
primaryColor="#F63366"
backgroundColor="#FCF2E5"
secondaryBackgroundColor="#F8E4C7"
textColor="#302730"
Learn More: config.toml - Streamlit Docs
Secrets
To manage secrets (like environment variables and API Keys), Streamlit has a custom solution. A special file (./.streamlit/secrets.toml) keeps all the secrets.
OPENAI_API_KEY="<OPENAI_API_KEY_HERE>"
Deployment
The first step is to identify the input taken by the model and input those details.
 pic = st.file_uploader(
     label="Upload a picture",
     type=["png", "jpg", "jpeg"],
     accept_multiple_files=False,
     help="Upload a picture of a cat or dog",
 )
The second step is to preprocess the image to fit the model (this preprocessing depends on your model.
The next step is to load your model (TIP: cache the model to prevent loading time for subsequent runs)
 @st.cache_resource
 def load_model():
     model = tf.keras.models.load_model("./model/model.h5")
     return model
Pass the processed image to the model and display the output.
 model = load_model()
 st.write(model.predict(img))
Execution
To run the file, run:
$ streamlit run app.py
NOTE: You can learn about the different components in streamlit through their official docs.